
Installing a backyard pool is exciting but can feel overwhelming without a clear plan. This step-by-step guide walks you through the major phases — from initial planning to final inspection — so you know what to expect, how long it takes, and where to invest time and attention.
Whether you’re considering a modest plunge pool or an expansive in-ground retreat, understanding each stage reduces surprises and helps you make informed decisions about design, budget, and maintenance. Read on for a practical roadmap to a successful pool installation project.
1. Planning and Design: Define Your Vision
Begin by clarifying why you want a pool, how you’ll use it, and what features matter most (lap lanes, shallow play area, spa, lighting). Sketch a basic layout and consider the following:
- Size and shape that fit your yard and lifestyle
- Sun exposure, privacy, and access points
- Materials (concrete, fiberglass, vinyl) and surface finishes
- Desired add-ons: heaters, covers, automatic cleaners, lighting
Get quotes from reputable contractors and ask them for their portfolios. This early phase sets realistic expectations for cost and timeline and helps you choose a professional who understands your vision.
2. Permits, Regulations, and Site Assessment
Before breaking ground, check local zoning rules, building codes, setback requirements, and fencing regulations. Many municipalities require permits and an inspection schedule. A site assessment by your contractor will identify underground utilities, drainage patterns, and soil type — all of which influence construction methods and cost. Securing permits early also prevents costly delays later in the project.
3. Excavation and Base Preparation
Once permits are approved, excavation should begin, with the contractor marking the footprint, removing topsoil, and digging to the required depth. Proper excavation ensures the following:
- Accurate shape and slope
- Stable base for the shell
- Adequate space for equipment and backfill
After digging, contractors usually install a compacted base — typically sand, gravel, or a concrete slab — to promote drainage and prevent future settling. During this stage, expect heavy machinery on site and some landscape disruption.
4. Plumbing, Electrical, and Shell Construction
With the hole prepared, crews will start installing plumbing lines, waste outlets, and electrical conduits for pumps, heaters, and lighting. Next comes shell construction, which will depend on your preferred pool type.
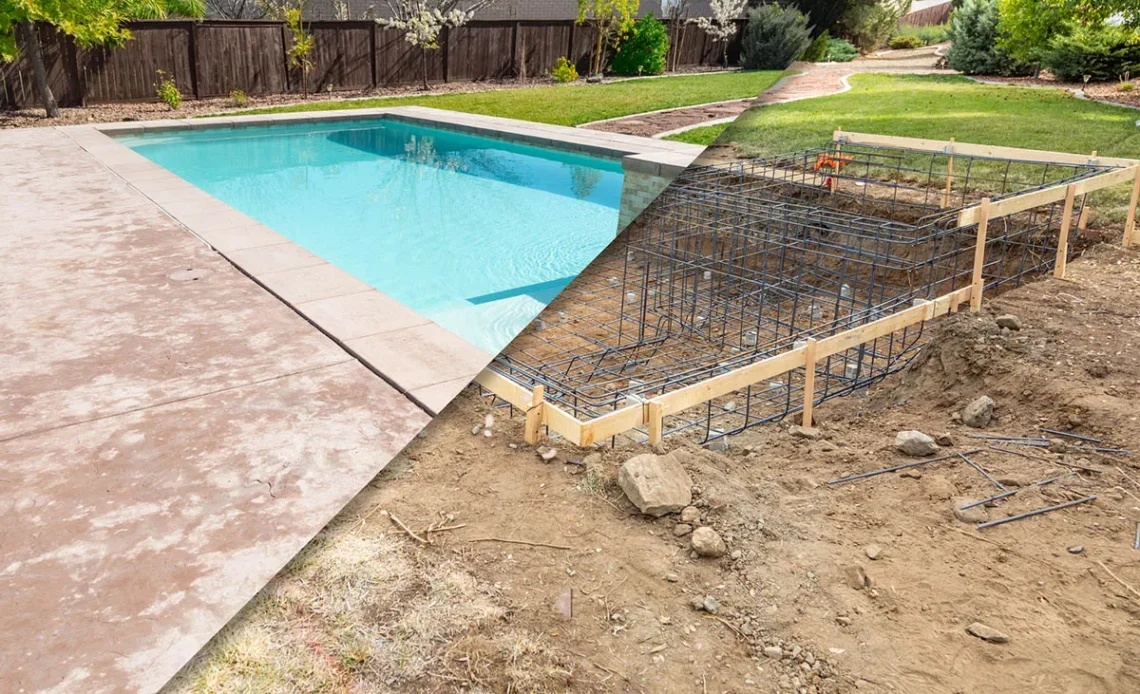
- For concrete (gunite) pools: steel rebar framework is placed and sprayed with gunite or shotcrete.
- For fiberglass pools: a prefabricated shell is lowered into the hole and backfilled.
- For vinyl pools: panel walls are assembled, and a liner is fitted.
Precision is important here — any mistakes in level, alignment, or piping can lead to costly repairs. This stage typically takes the longest and requires experienced tradespeople.
5. Finishing Touches
After the shell cures or is set, install coping (the cap around the pool edge), decking or paving, and interior finishes (plaster, tile, or gelcoat). Set up the filtration and circulation systems to keep water clear; the automation systems for lights, pumps, and cleaning; and the heating systems if desired (solar, gas, or heat pump).
Add landscaping and safety features such as fences, gates, and pool covers during this stage to integrate the pool into your yard and meet local safety codes. Careful scheduling ensures the finishes and landscaping protect each other — for example, waiting until heavy construction is done before laying delicate pavers.
6. Filling, Balancing, and Inspection
After the final inspections and approvals, the pool is filled, and water chemistry is balanced. The contractor should run the systems to demonstrate basic pool operation and essential maintenance tasks such as testing the water, cleaning the filters, and operating the valves and controls. Expect a final walkthrough and documentation of warranties, equipment manuals, and recommended service schedules.
Timeline and Common Pitfalls
A typical in-ground pool project can range from 6 to 12 weeks for straightforward jobs, though custom designs, permits, the weather, and supply delays can extend that timeline. For pitfalls, avoid skipping permit checks or inspections, choosing the lowest bid without verifying contractor experience, and neglecting long-term maintenance planning (equipment size, chemical management).
In Conclusion
A successful pool installation combines thoughtful planning, the right professionals, and attention to local regulations and construction details. Start with a clear vision, ask the right questions of contractors, and plan for both short-term construction and long-term care to protect your investment.